

Perennial
Alchemilla mollis
Lady's mantle
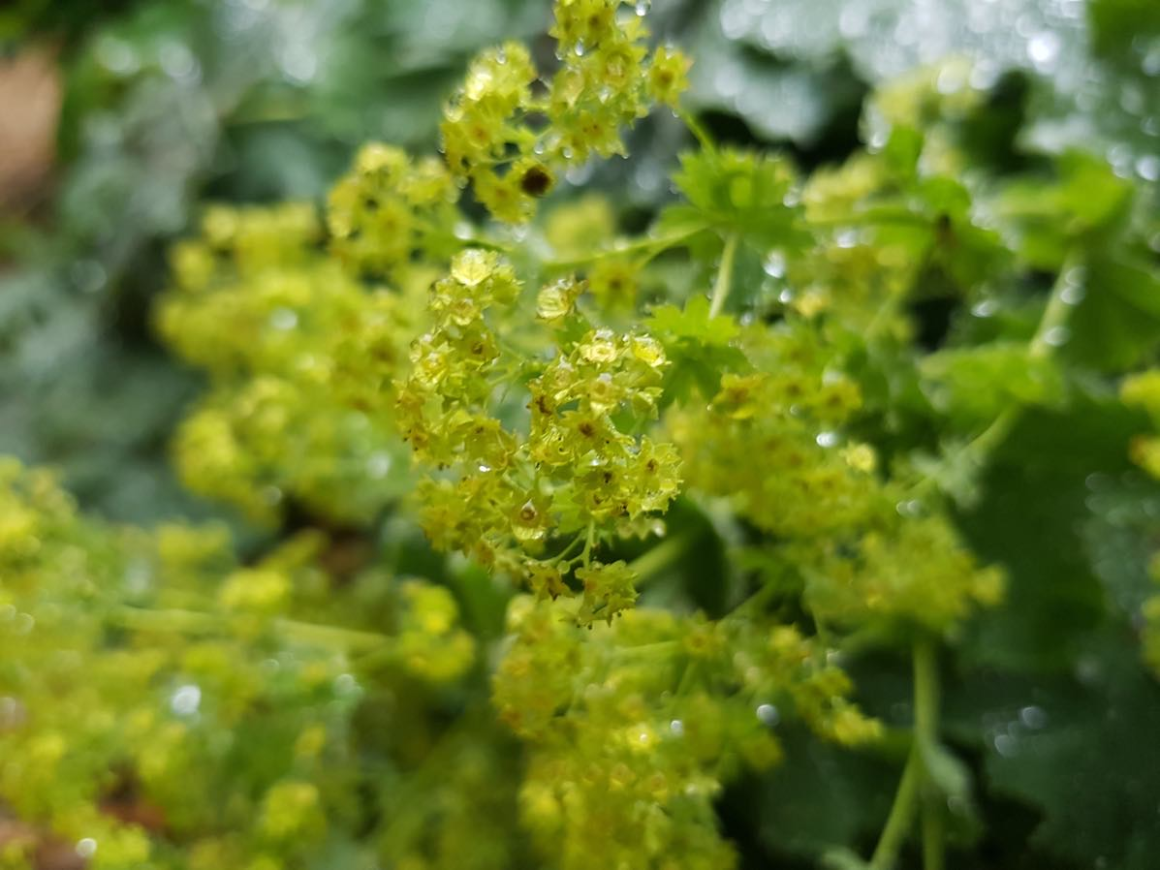
A tough, easy groundcover with soft, scalloped leaves that hold water droplets, and frothy sprays of lime-yellow flowers.
- Full shade, Full sun, Partial shade
- 30–50 cm (12–20 in)
- 50–75 cm (20–30 in)
- H7 · Zone 4
- June–September
- Deciduous
- RHS Award of Garden Merit
Overview
Native to the mountains of south-eastern Europe, Turkey and the Caucasus, lady's mantle forms low mounds of rounded, softly hairy, pale green leaves with scalloped edges. Their fine hairs make raindrops bead up and sparkle like jewels. From early summer it produces frothy sprays of tiny lime-yellow flowers, much used in cut-flower arrangements. It is extremely hardy (below -25°C / -13°F), grows in sun or shade and almost any soil, and is one of the easiest perennials to grow. It self-seeds freely, so cut off the flowers as they fade if you want to limit it. It holds an RHS Award of Garden Merit.
At a Glance
Growing Conditions
Aspect Suitability
- North-facing
- East-facing
- South-facing
- West-facing
Site Tolerance
- Exposed sites
- Wind
- Coastal
Soil Tolerance
- Clay
- Chalk
- Sandy
- Loam
- Acid
- Neutral pH
- Alkaline
Foliage
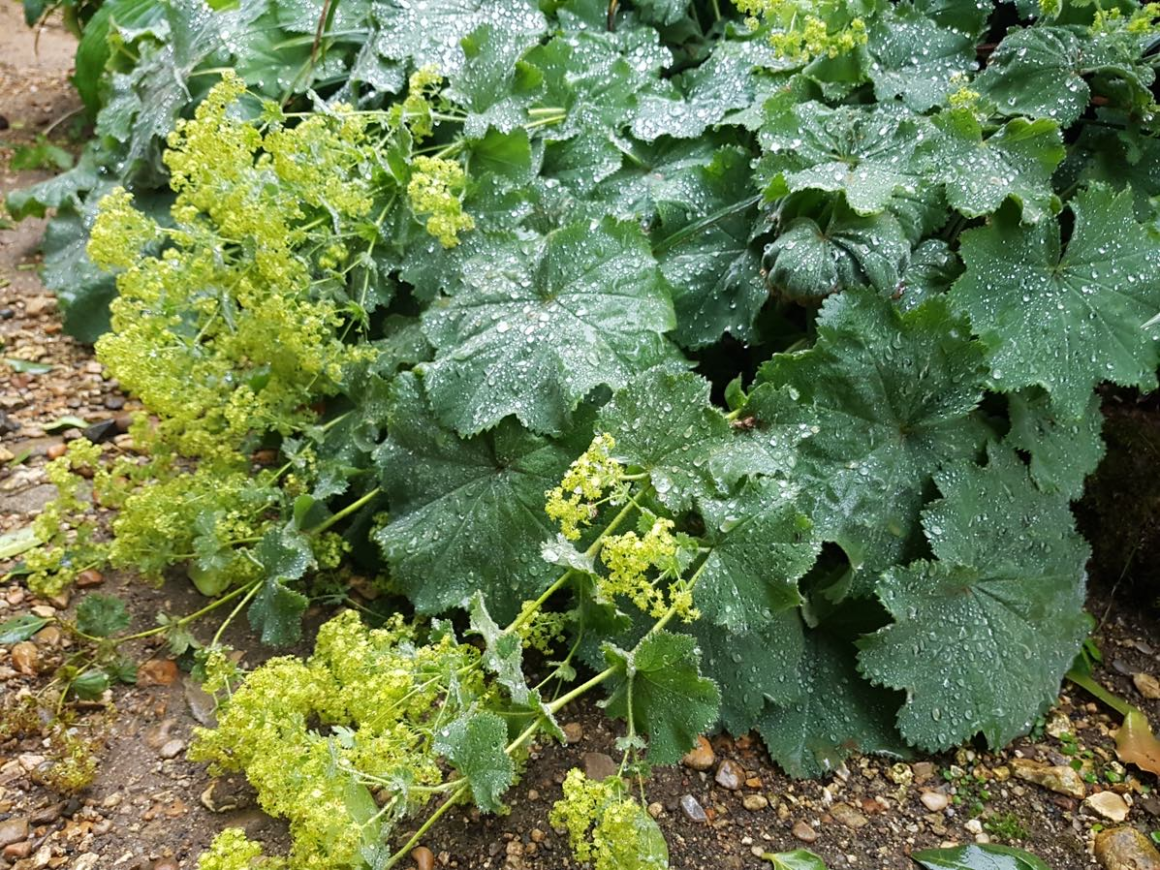
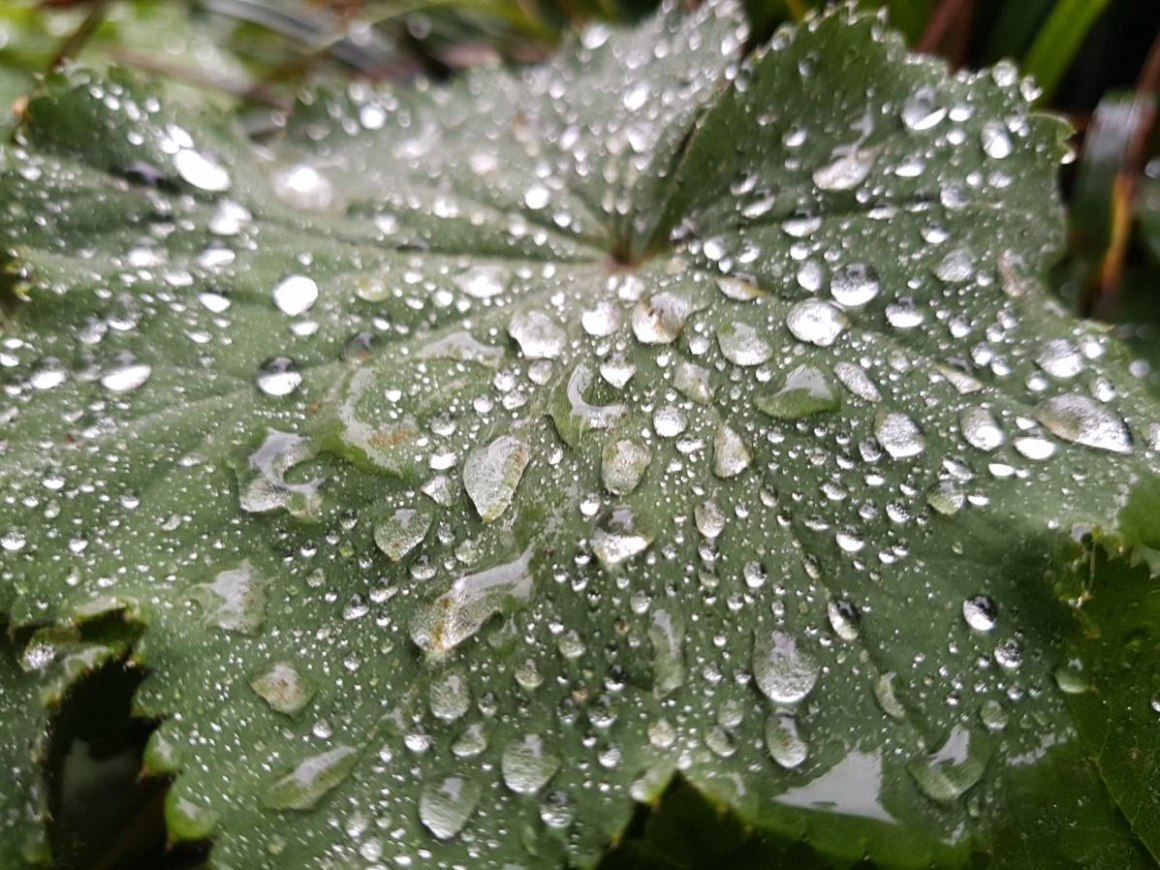
Foliage interest: March–November
Seasonal Timeline
- Flowering Jun Jul Aug Sep
- Foliage Mar Apr May Jun Jul Aug Sep Oct Nov
- Fruiting Aug Sep
- Propagate Mar Apr Sep Oct
How to propagate
Ways to grow more Lady's mantle: the usual steps for each method.
From seed Mar–Apr Easy
You'll need: Seed compost, a seed tray or small pots, labels, and a clear lid or plastic bag.
- Fill a tray or pots with seed compost, level it and firm it gently.
- Water the compost and let it drain.
- Sow the seeds thinly on top. Cover them with a fine layer of compost or vermiculite about as deep as the seed is big; leave tiny seeds uncovered.
- Label them, cover with a clear lid or bag, and keep them somewhere bright but out of hot sun.
- Keep the compost just moist, and take the cover off once seedlings appear.
- How long
- Usually comes up in 1 to 3 weeks.
- It's worked when
- Seedlings with their first pair of leaves.
- Then
- When each has its first true leaves, prick them out into their own small pots, holding them by a leaf, never the stem. Harden them off for a week or two before planting out.
Division Mar–Apr, Sep–Oct Easy
You'll need: A garden fork or spade (two forks back to back help with big clumps) and a sharp knife.
- Water the plant well the day before.
- Dig up the whole clump with a fork, keeping as much root as you can.
- Split it into pieces about the size of your fist, each with healthy roots and shoots: pull them apart by hand, or cut tough clumps with a knife or spade.
- Throw away any old, woody middle.
- Replant the pieces straight away at the same depth, and water them in well.
- How long
- Settles in within a few weeks.
- It's worked when
- Fresh new growth within a few weeks.
- Then
- Water in dry spells for the rest of the season.
Divide clumps in spring or autumn, or pot up self-sown seedlings while small.
Maintenance Calendar
- Mar Clear away old, tatty leaves as new growth starts
- Jul After flowering, cut flowers and old leaves back to the base, which stops self-seeding and gives a fresh mound of leaves
- Aug Water after cutting back in dry weather to help it regrow
- Oct Divide large clumps every few years if they become crowded
Garden Design
Works well in: Cottage, Modern / Contemporary, Wildlife-friendly, Woodland / Shade
Use it to soften path edges and the front of borders, or as a lime-green foil under roses; it bridges colours in almost any scheme.
Companion planting: Roses, Hardy geraniums, Nepeta, Alliums
Wildlife Value
- Bees
- Other pollinators
- Beneficial insects
- Shelter
Spreads or self-seeds freely: keep it in check.
Safety
Not known to be toxic to people or pets.