

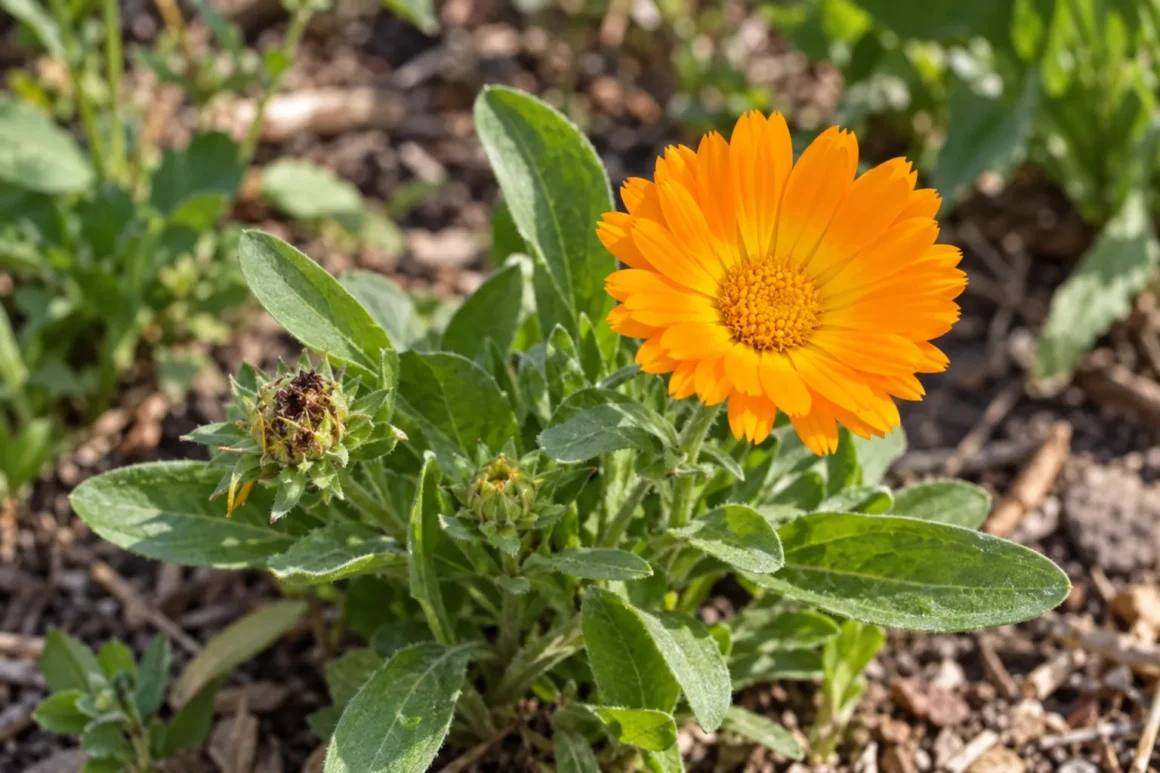
Annual · Herb
Calendula officinalis
Pot marigold
Cheerful, easy annual with orange and yellow daisies over a long season; the petals are edible.
- Full sun, Partial shade
- 30–60 cm (12–24 in)
- 30–45 cm (12–18 in)
- H6 · Zone 6
- June–October
- Deciduous
Overview
Pot marigold, also called calendula or English marigold, is a fast, bushy annual from the Mediterranean. Single or double daisies in orange, gold and apricot open from early summer into autumn on plants 30–60 cm (1–2 ft) tall. Its petals are edible and have long been used in cooking and skin balms.
It is a cool-season annual. Seedlings survive light frosts to about −15°C (5°F) once established, so where winters are mild it can be sown in autumn for spring flowers. In hot, humid summers it slows down and gets mildew; sow again for a second flush as it cools.
It self-seeds freely and is a favourite with hoverflies and bees.
At a Glance
Growing Conditions
Aspect Suitability
- East-facing
- South-facing
- West-facing
Site Tolerance
- Exposed sites
- Coastal
Soil Tolerance
- Clay
- Sandy
- Loam
- Acid
- Neutral pH
- Alkaline
Foliage
Foliage interest: April–October
Seasonal Timeline
- Flowering Jun Jul Aug Sep Oct
- Foliage Apr May Jun Jul Aug Sep Oct
- Propagate Mar Apr Sep
How to propagate
One way to grow more Pot marigold: the usual steps for each method.
From seed Mar–Apr, Sep Easy
You'll need: Seed compost, a seed tray or small pots, labels, and a clear lid or plastic bag.
- Fill a tray or pots with seed compost, level it and firm it gently.
- Water the compost and let it drain.
- Sow the seeds thinly on top. Cover them with a fine layer of compost or vermiculite about as deep as the seed is big; leave tiny seeds uncovered.
- Label them, cover with a clear lid or bag, and keep them somewhere bright but out of hot sun.
- Keep the compost just moist, and take the cover off once seedlings appear.
- How long
- Usually comes up in 1 to 3 weeks.
- It's worked when
- Seedlings with their first pair of leaves.
- Then
- When each has its first true leaves, prick them out into their own small pots, holding them by a leaf, never the stem. Harden them off for a week or two before planting out.
Sow where it is to flower; it self-seeds freely.
Garden Design
Works well in: Cottage, Edible / Kitchen Garden, Wildlife-friendly
Bright, easy filler for vegetable plots, borders and pots; attracts hoverflies that eat aphids.
Companion planting: Vegetables, Herbs, Nasturtiums
Wildlife Value
- Bees
- Butterflies
- Other pollinators
- Beneficial insects