

Perennial
Francoa appendiculata var. sonchifolia
Bridal wreath
Also known as: Francoa sonchifolia, Francoa rupestris, Francoa sonchifolia var. appendiculata
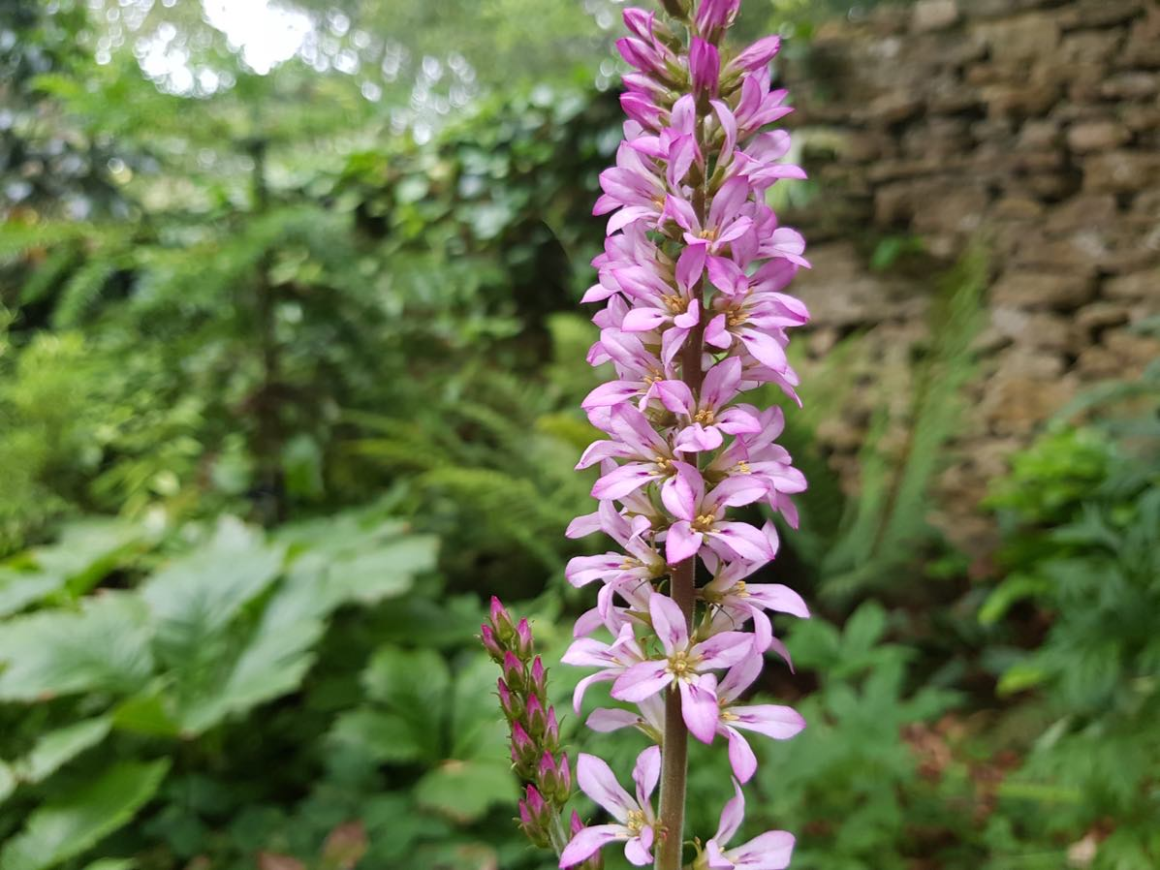
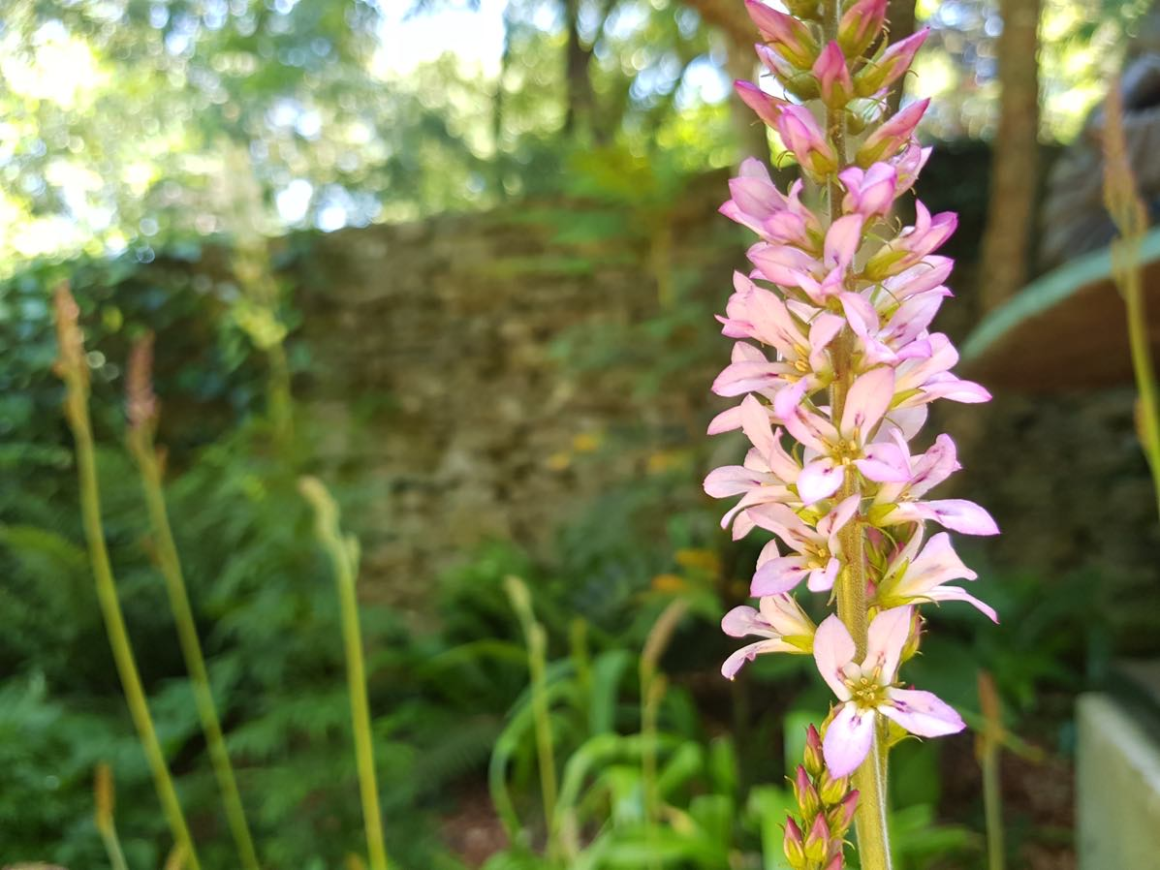
An evergreen Chilean perennial with rosettes of wavy leaves and tall, slender spikes of pink flowers in summer.
- Full sun, Partial shade
- 50–90 cm (20–35 in)
- 30–50 cm (12–20 in)
- H4 · Zone 8
- June–August
- Evergreen
Overview
Widely sold as Francoa sonchifolia, bridal wreath comes from central and southern Chile. It forms low, evergreen rosettes of lobed, wavy-edged, dark green leaves, from which slender, wiry stems rise in summer carrying dense spikes of small, cup-shaped, pale to rich pink flowers, often marked darker inside. The spikes last well in a vase. It is hardy to about -10°C (14°F) in soil that drains in winter, grows in sun or part shade and copes with most soils. It is an easy, long-lived plant for the front or middle of a border.
At a Glance
Growing Conditions
Aspect Suitability
- North-facing
- East-facing
- South-facing
- West-facing
Soil Tolerance
- Clay
- Chalk
- Sandy
- Loam
- Acid
- Neutral pH
- Alkaline
Foliage
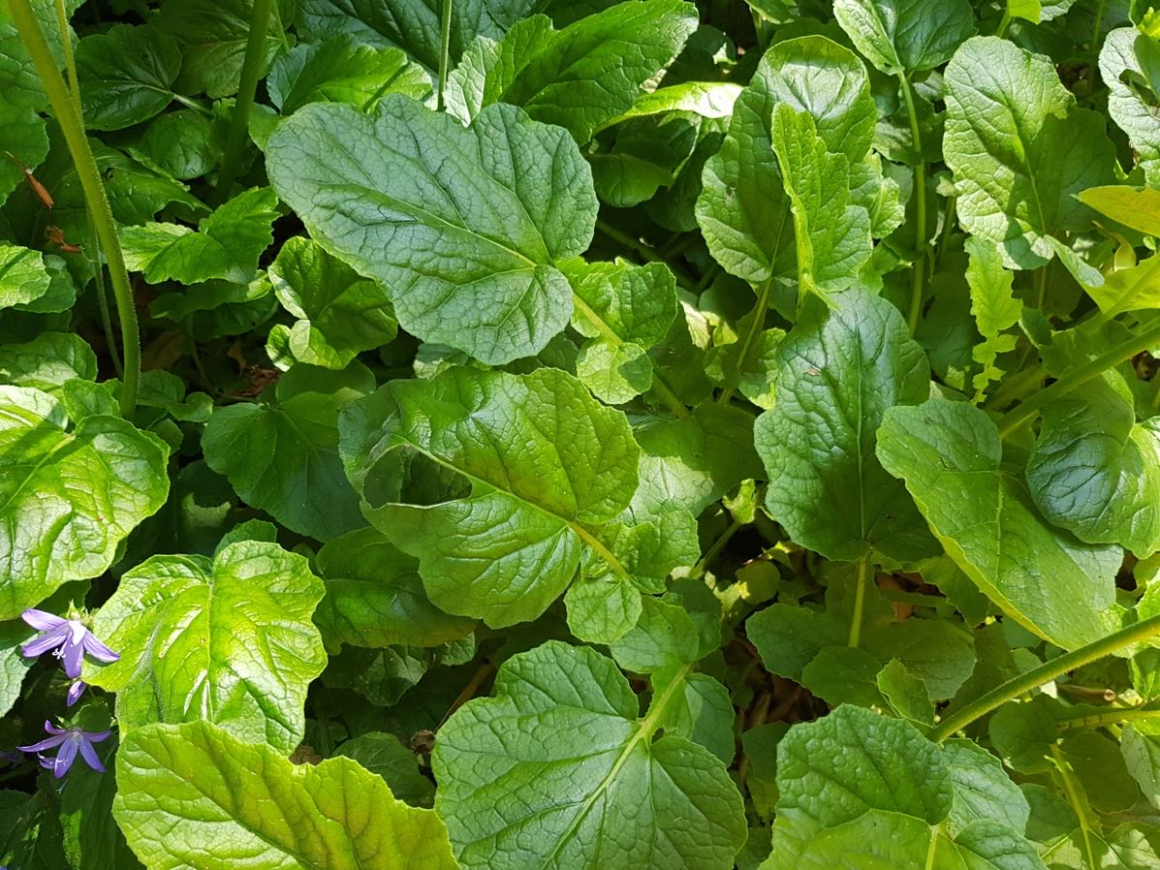
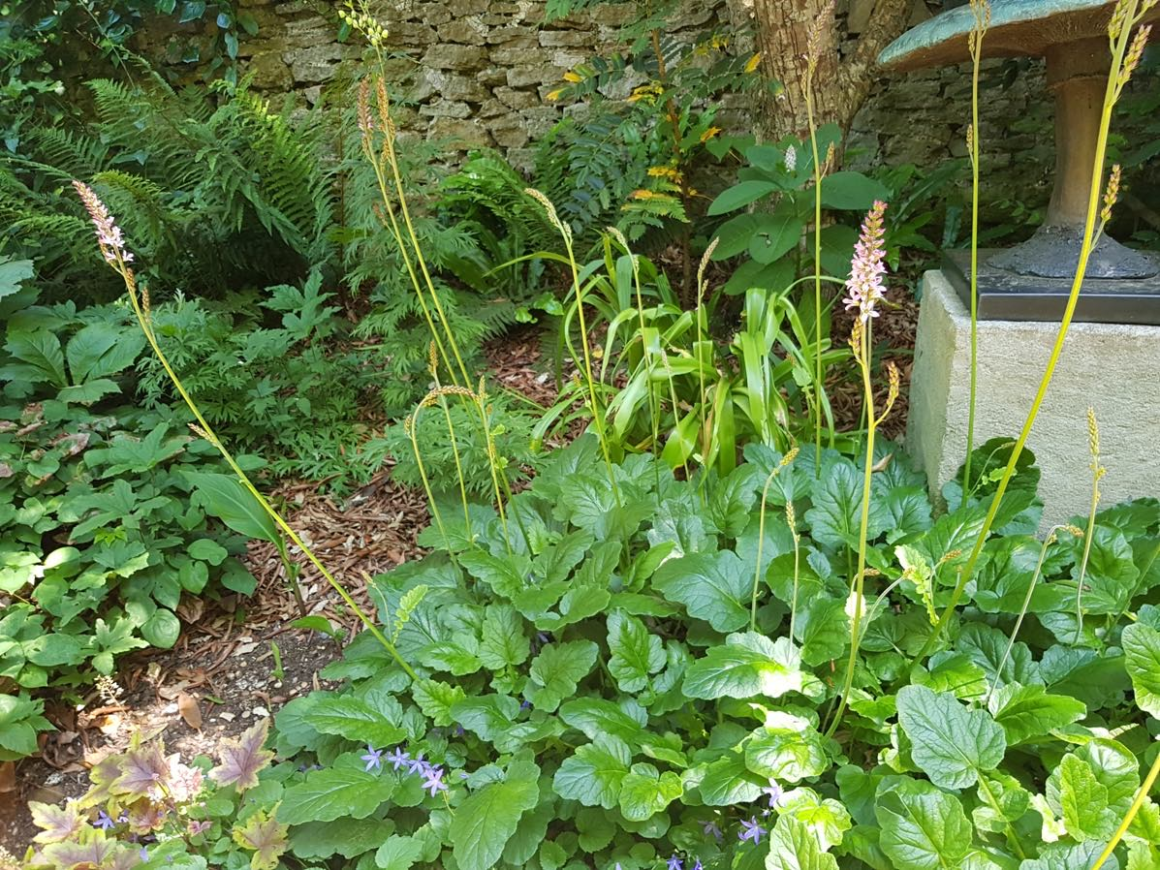
Foliage interest: 12 months of the year
Seasonal Timeline
- Flowering Jun Jul Aug
- Foliage 12 months of the year
- Propagate Mar Apr Sep
How to propagate
Ways to grow more Bridal wreath: the usual steps for each method.
Division Mar–Apr, Sep Easy
You'll need: A garden fork or spade (two forks back to back help with big clumps) and a sharp knife.
- Water the plant well the day before.
- Dig up the whole clump with a fork, keeping as much root as you can.
- Split it into pieces about the size of your fist, each with healthy roots and shoots: pull them apart by hand, or cut tough clumps with a knife or spade.
- Throw away any old, woody middle.
- Replant the pieces straight away at the same depth, and water them in well.
- How long
- Settles in within a few weeks.
- It's worked when
- Fresh new growth within a few weeks.
- Then
- Water in dry spells for the rest of the season.
From seed Mar–Apr Easy
You'll need: Seed compost, a seed tray or small pots, labels, and a clear lid or plastic bag.
- Fill a tray or pots with seed compost, level it and firm it gently.
- Water the compost and let it drain.
- Sow the seeds thinly on top. Cover them with a fine layer of compost or vermiculite about as deep as the seed is big; leave tiny seeds uncovered.
- Label them, cover with a clear lid or bag, and keep them somewhere bright but out of hot sun.
- Keep the compost just moist, and take the cover off once seedlings appear.
- How long
- Usually comes up in 1 to 3 weeks.
- It's worked when
- Seedlings with their first pair of leaves.
- Then
- When each has its first true leaves, prick them out into their own small pots, holding them by a leaf, never the stem. Harden them off for a week or two before planting out.
Divide clumps in spring or early autumn. Seed sown under cover in spring germinates readily, though named forms may vary.
Maintenance Calendar
- Mar Remove leaves damaged over winter as new growth starts
- Jul Water in long dry spells to keep flowering going
- Aug Cut faded flower spikes down to the rosette to keep the plant tidy
- Sep Divide congested clumps every few years to keep them vigorous
Garden Design
Works well in: Cottage, Modern / Contemporary, Wildlife-friendly, Woodland / Shade
Plant in groups so the slender spikes rise through lower plants; it is also a good cut flower.
Companion planting: Ferns, Hardy geraniums, Fuchsias, Heucheras
Wildlife Value
- Bees
- Other pollinators
Safety
Not known to be toxic to people or pets.