Whether you’ve a small back garden greenhouse or a larger greenhouse where you want to grow plants in winter, this step-by-step will help you keep the space warmer, protect plants and reduce heating costs.
Why insulate your greenhouse?
Insulating your greenhouse is about retaining heat, reducing frost risk, and making your growing space more reliable through colder months. The insulating value of a greenhouse comes from limiting heat loss through walls, roof and vents. Using bubble-wrap helps because the trapped air bubbles act as a barrier to heat transfer.
In many parts of the UK & USA you may face frosts in autumn or winter and you may have long freezing spells. By lining your greenhouse you can keep temperatures higher for longer, especially overnight, which supports more tender plants, seedlings and vegetables through to spring.
What you’ll need
Here’s a list of tools and materials to gather before you start:
- Rolls or sheets of bubble-wrap, ideally horticultural grade.
- A waterproof or weather-resistant tape
- Alliplugs (for metal framed greenhouses) or staples/nails (for wooden greenhouses)
- Scissors or a sharp utility knife
- A ladder (if your greenhouse has high walls or roof)
- Measuring tape
Step-by-step: Installing bubble-wrap insulation
Step 1: Clear and clean the greenhouse
Remove any clutter from walls, benches or shelving. Clean the interior surfaces where you’ll apply the wrap: wipe down frames, glass or plastic panels to remove dust, condensation or algae. This helps tape adhesion.
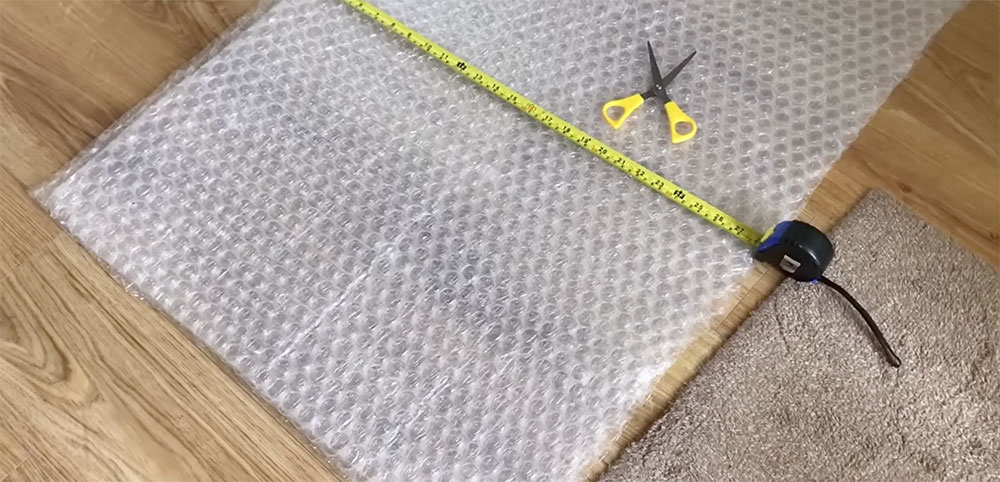
Step 2: Measure and cut bubblewrap insulation sheets
Measure the area of wall panels, roof panels (if you plan to line the roof), and doors/windows if applicable. Cut your bubble-wrap sheets slightly larger than required so you can overlap edges. Use a utility knife or scissors to cut to size.
Step 3: Attach the wrap to the inside of the greenhouse
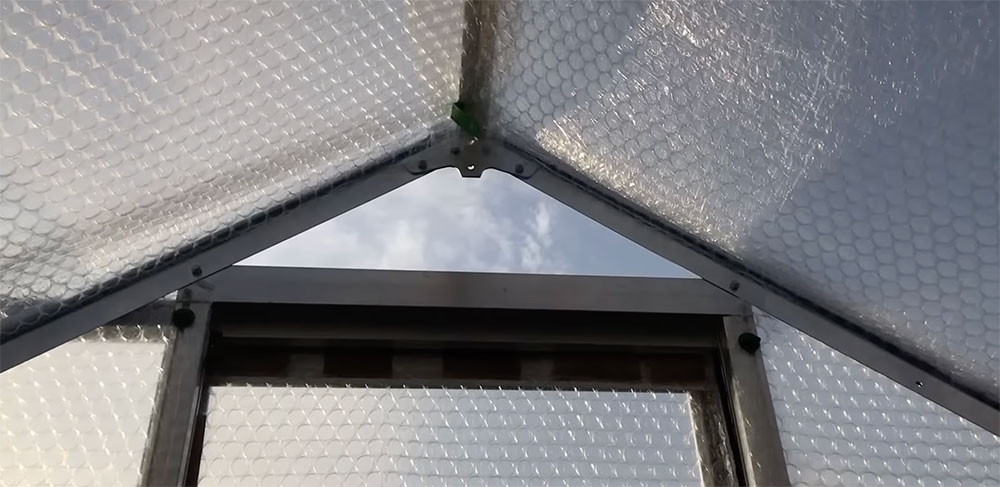
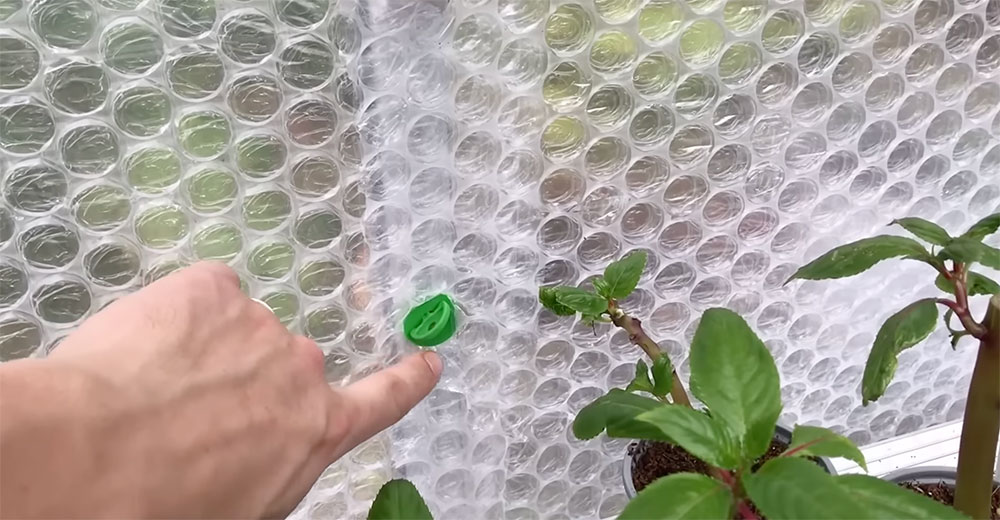
As shown in the video, you’ll fix the bubble-wrap to the inside surfaces of your greenhouse. The bubble side should face the plants/interior side (i.e., the air pockets face inward) so that the trapped air helps insulate the interior space.
Work from the bottom up: start with lower wall sections, then side walls, then upper wall/roof if you’re doing that too. We’d recommend this as hot air naturally rises so insulating your greenhouse roof will help immensely.
Step 4: Secure edges and seams
Use your weather-resistant tape to secure the edges of the bubble-wrap: around the frame, doors and rigid panels. When joining two sheets, overlap by about 50 mm (2 inches) and tape the seam to avoid drafts.
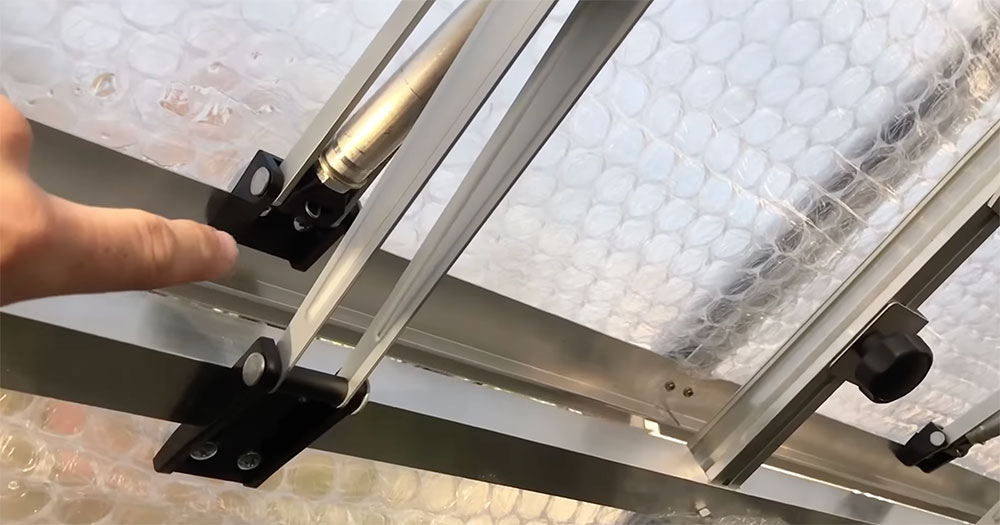
For roof sections, make sure you allow for any drainage/vent movement so the wrap doesn’t interfere with vents that must open.
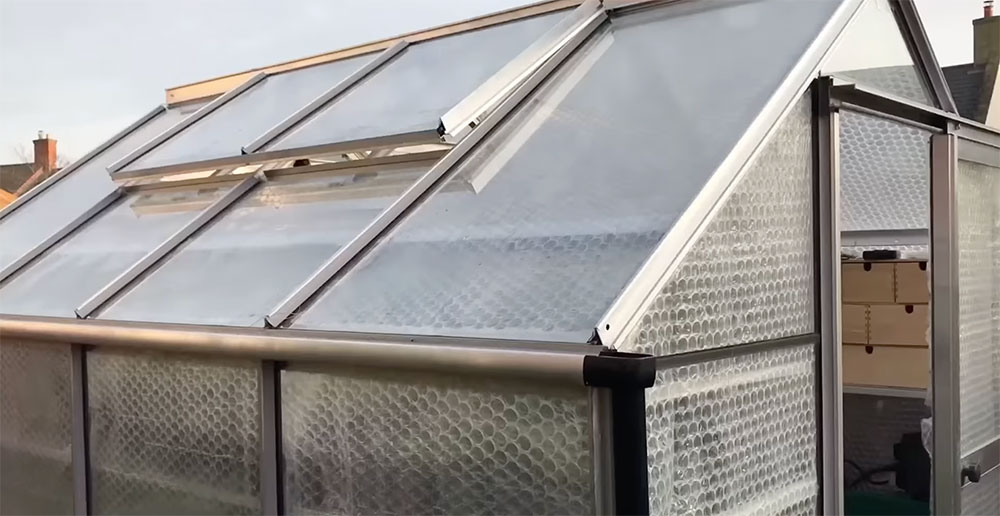
Step 5: Insulate the roof
If your greenhouse has a clear plastic roof or polycarbonate, adding bubble-wrap across roof panels can significantly reduce heat loss through the top—often the largest loss area. Clip or tape the wrap to roof cross beams or battens, making sure it doesn’t sag or interfere with rain runoff.
Step 6: Seal the door and vents
Although you want ventilation to avoid overheating and humidity problems, check that the door seal is still good. Consider adding a flap of bubble-wrap behind the door or over the door frame to reduce cold air infiltration. For vents: when closed, check that the wrap is not hindering their operation. If you keep vents partially open during winter, you may want to apply wrap only to permanent panels and leave venting surfaces uncovered.
Step 7: Check and monitor
Once installed, monitor your greenhouse over a few days: check how the internal temperature behaves at dusk and dawn compared to outside. You should see warmer overnight lows and a more stable daytime environment. Also check for condensation build-up (if insulation causes more moisture). If you see excess condensation, increase ventilation.
Benefits you’ll see
- Simple DIY cost-effective: Bubble-wrap is relatively cheap or reusable, especially if you save old packaging wrap.
- Higher minimum temperatures: Particularly overnight, when heat loss is greatest.
- Lower heating bills: If you use a heater, insulation means it runs less or on lower setting.
- Longer growing season: You might continue growing vegetables, tender plants or overwinter crops.
- Better protection against frost: Plants are less likely to be damaged by sudden chill or freeze.
Potential challenges & how to manage them
- Reduced light transmission: While bubble-wrap is transparent, it diffuses light slightly. If your plants are light-sensitive (e.g., tomatoes, peppers), ensure they still get enough light; consider removing wrap from at least one section or using thinner wrap on that section.
- Condensation: Warm moist air inside meeting cool panels can cause condensation. Keep vents open occasionally; consider using a fan to circulate air if you are getting mould.
- Wind / heavy snow: In heavy snow areas (USA northern states, or UK highlands), after a snow event, clear the roof promptly. Snow will prevent light transmission.
- Tape failure: Cheap tape may fail in cold, wet conditions. Use quality outdoor-grade tape. In very windy zones, consider using battens or clips rather than only tape.
- Over-insulating / over-heating: In early winter or transition seasons, the greenhouse may get too warm during sunny days. Monitor temps and open vents or remove a panel of wrap temporarily. We leave our bubblewrap on year-round and that works fine in our climate with the addition of shade netting.
Tips for maximum insulation performance
- Use large-bubble wrap if you can—they trap more air and give better insulation. Homes and Gardens
- Insulate walls first, then the roof—walls account for a lot of heat loss and are easier.
- Keep a door flap or extra layer behind the main door to reduce cooldown when you open it.
- Use thermal mass (e.g., barrels of water painted black, bricks) to store heat during the day and release it at night. Combine with insulation for best effect.
- Make sure your ventilation system (manual or automatic) is still effective despite the wrap. Ideally you want one or two vents open even in winter to prevent overheating and humidity build-up.