
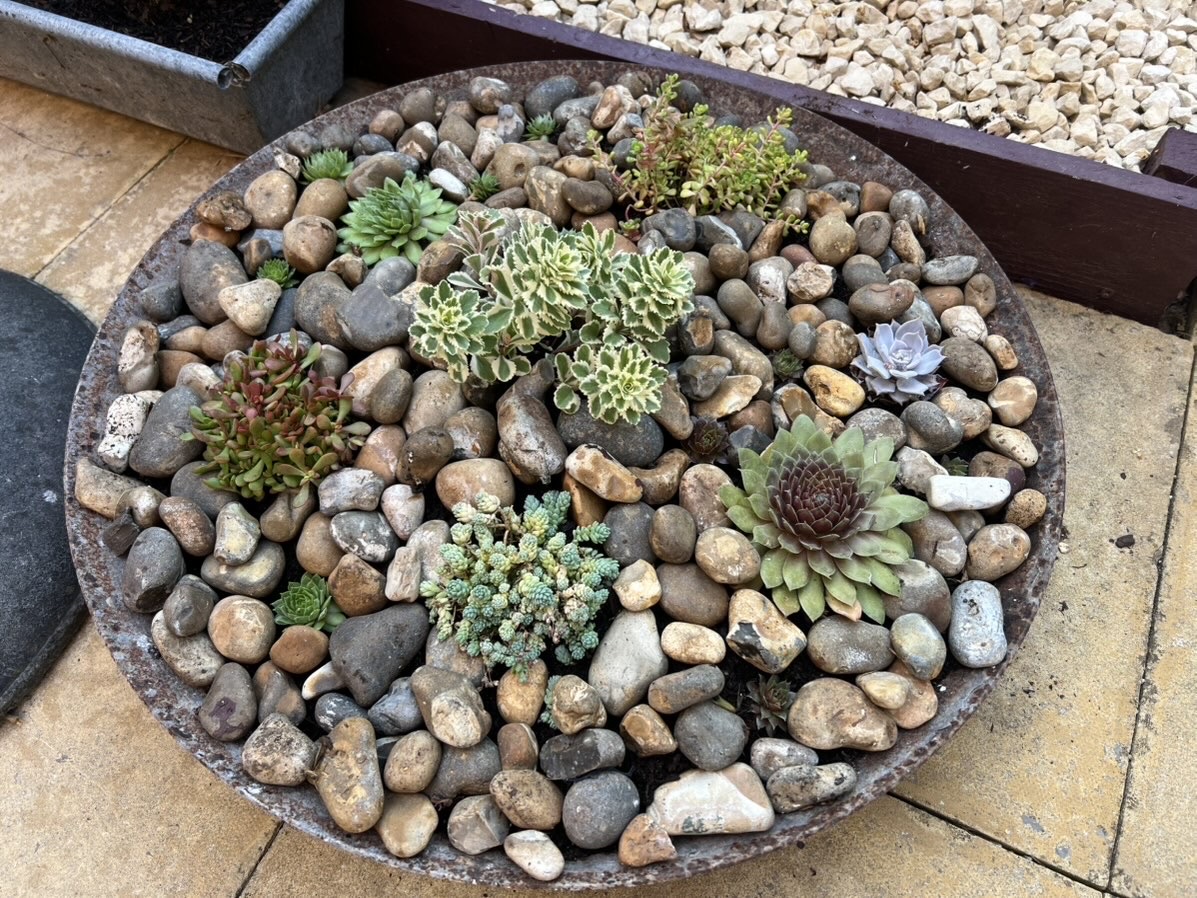
My wife and I first saw this idea at the RHS Badminton Flower Show in the uncomfortably warm summer of 2026. On the Surreal Succulents stand there was a display that stopped us in our tracks: a shallow metal bowl packed with architectural succulents, set around a base of ornamental stone. It was sun-loving, drought-resilient, and exactly the kind of low-maintenance drama I wanted in my own garden.
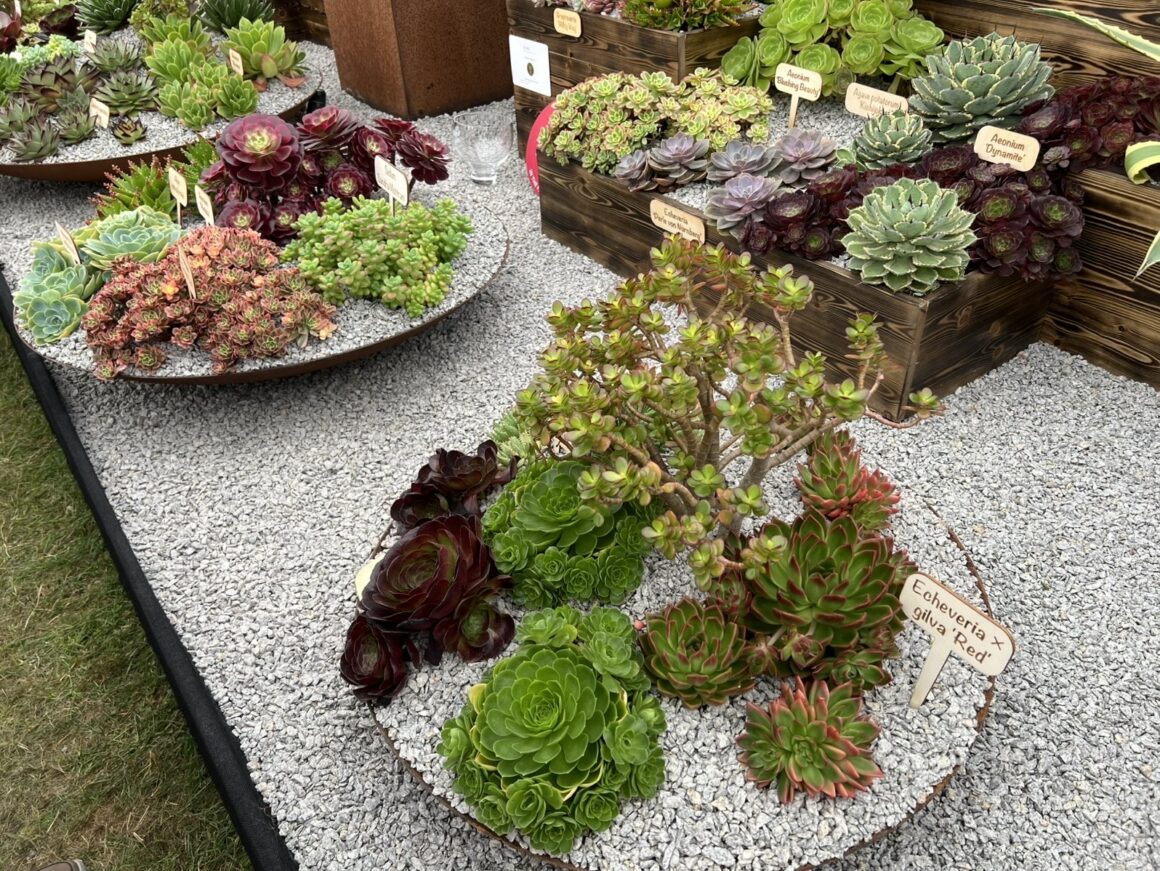
There was just one problem. Many of the succulents on display — things like Aeoniums — really struggle to survive outdoors through a UK winter. Beautiful in a show garden, heartbreaking in your own borders come January (unless you are lucky enough to live somewhere extraordinarily mild like southern Cornwall or the Isle of White).
So we set out to build our own version, using hardy succulents that can actually cope with our climate. Here’s exactly how we did it.
Finding the Right Hardy Succulents
Luckily, there was a specialist hardy succulent nursery with another stunning display at the RHS Badminton show, their name is ‘Plants Lets Grow’. We picked up an amazing range of architectural succulents — different colours, shapes, and forms, all specially suited to full sun, shallow soil, and minimal water.
Buy from Plants Let's Grow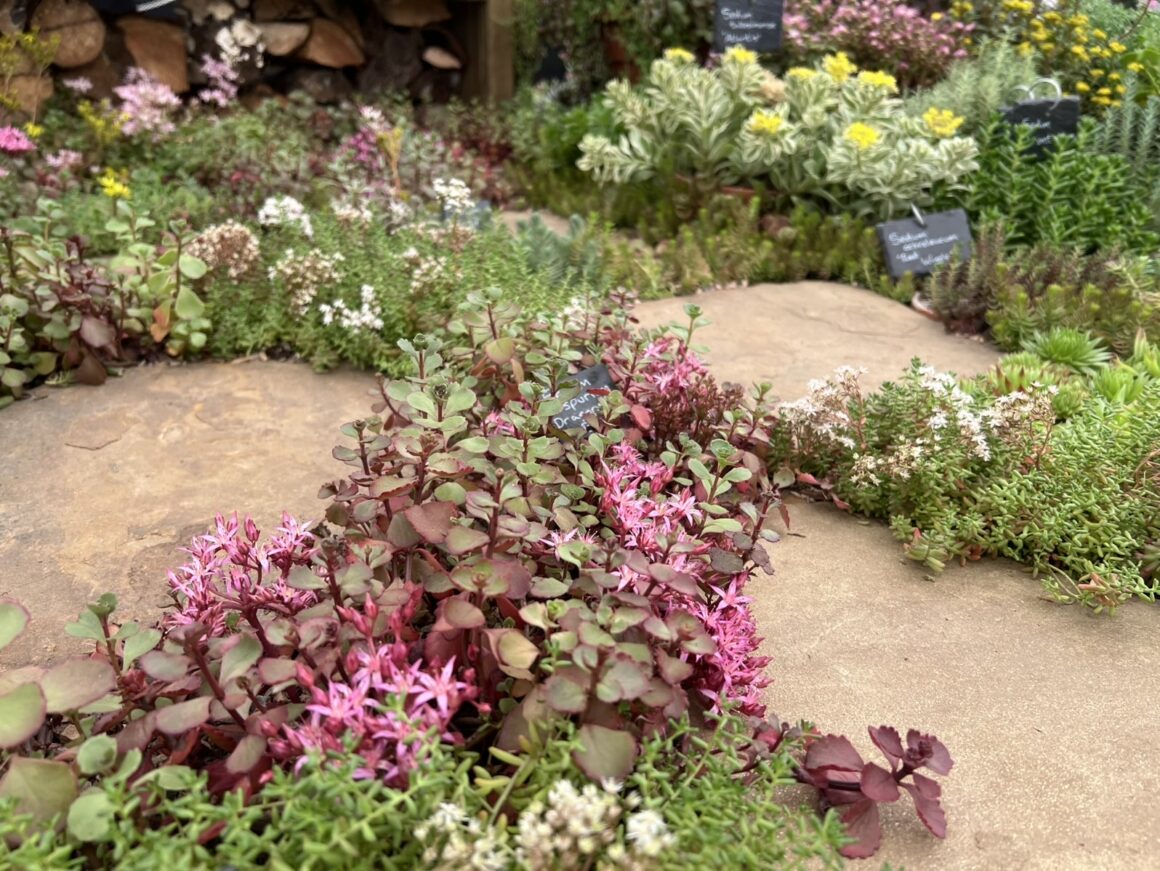
That combination — sun, shallow soil, low water — is exactly what makes them so well suited to increasingly drought-ridden UK summers. No fuss, no fretting over watering schedules, just plants that get on with it.
Choosing (or Reusing) Your Planter
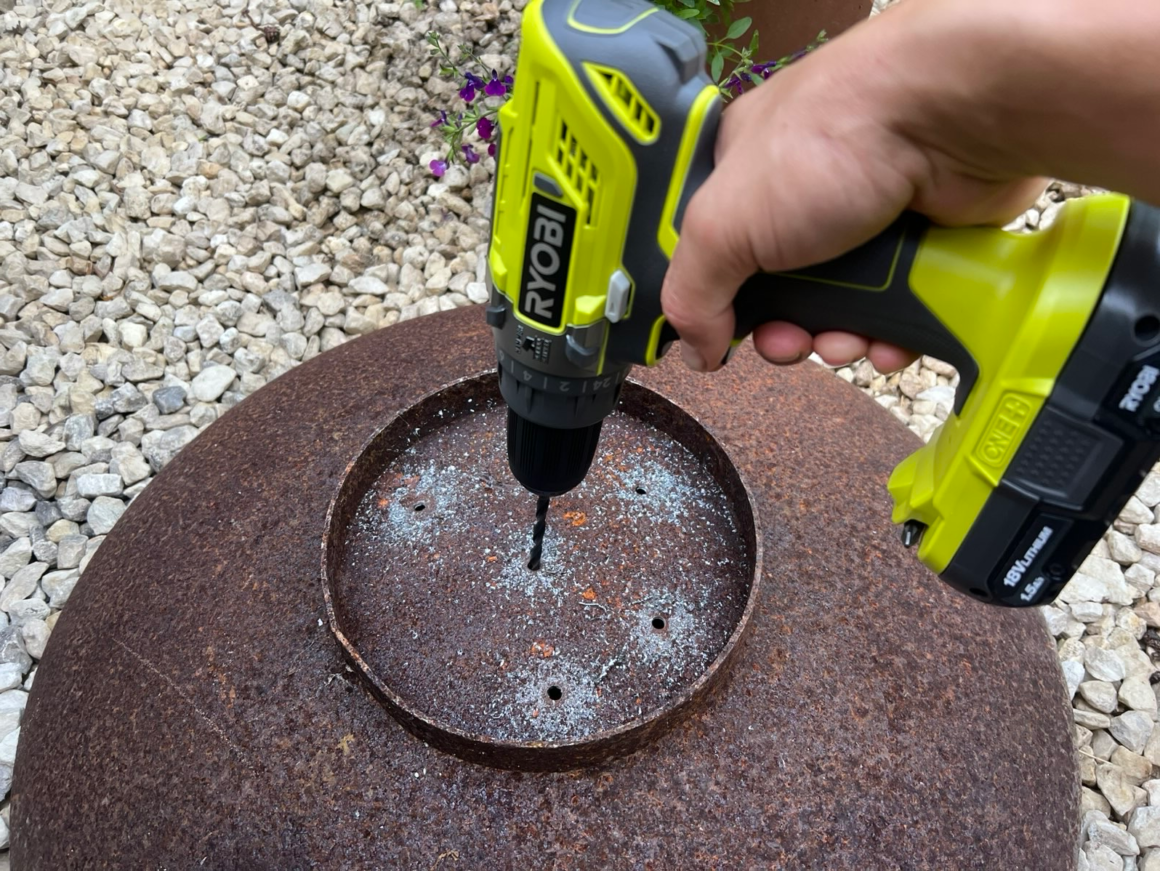
Rather than buy a new container, my wife suggested reusing an old corten steel water bowl from one of our previous garden designs. I’d always loved the texture and rusted colour of it, and had kept it in storage hoping a project like this would come along. Turning it into a planter meant drilling drainage holes into the base — something to bear in mind if you’re sourcing your own bowl:
- Metal bowls (like ours) need holes drilled with an HSS drill bit
- Ceramic or stone bowls may need a masonry bit, or may already have drainage
- Whatever you choose, make sure it’s genuinely shallow — this style of display relies on it
Step-by-Step: Building the Display
1. Drill the drainage holes
Using an HSS drill bit, we drilled 10–15 holes through the base of the bowl. Metal shavings can make a real mess in a garden bed, so take care to clean up thoroughly as you go.
2. Add a drainage layer
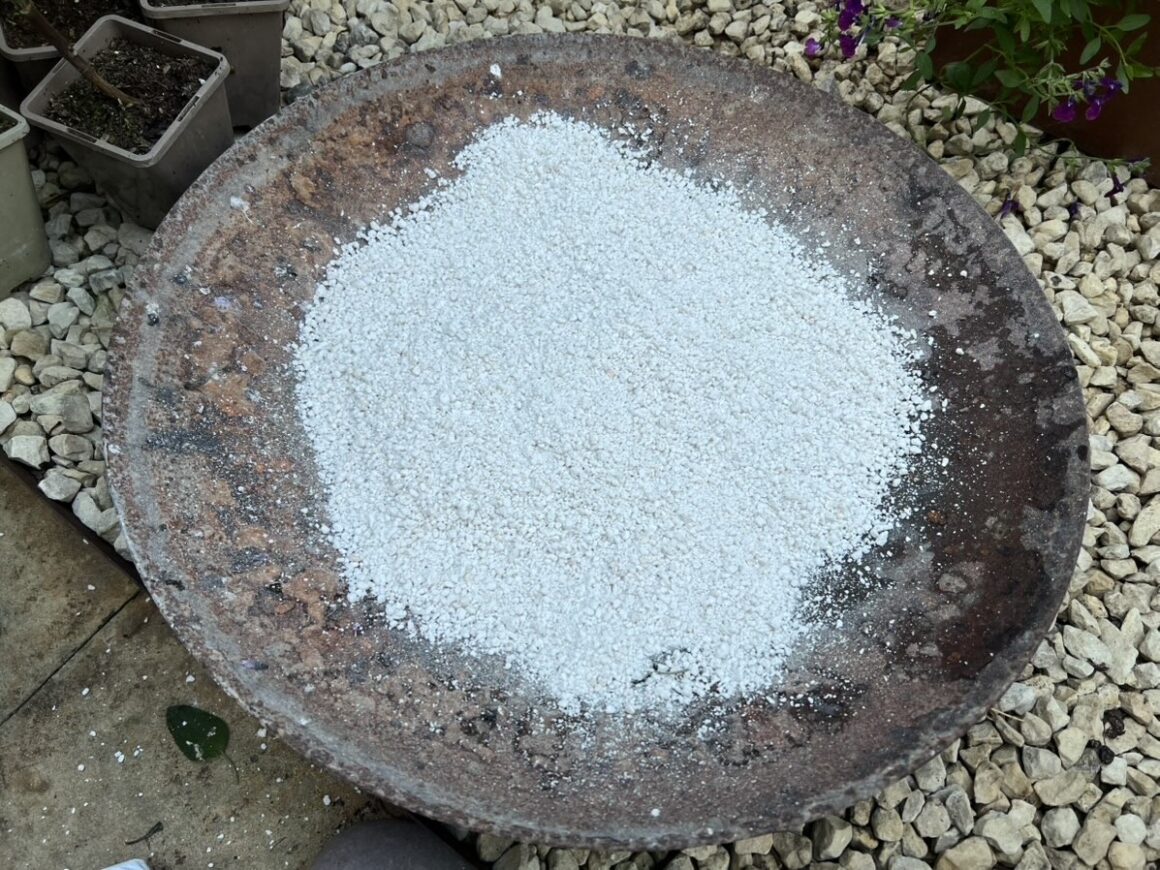
We added a one-inch layer of perlite to the bottom of the bowl. Grit, crocks, or pebbles all work just as well — we used perlite because we had it to hand, and it’s light, which makes the finished bowl much easier to move around the garden.
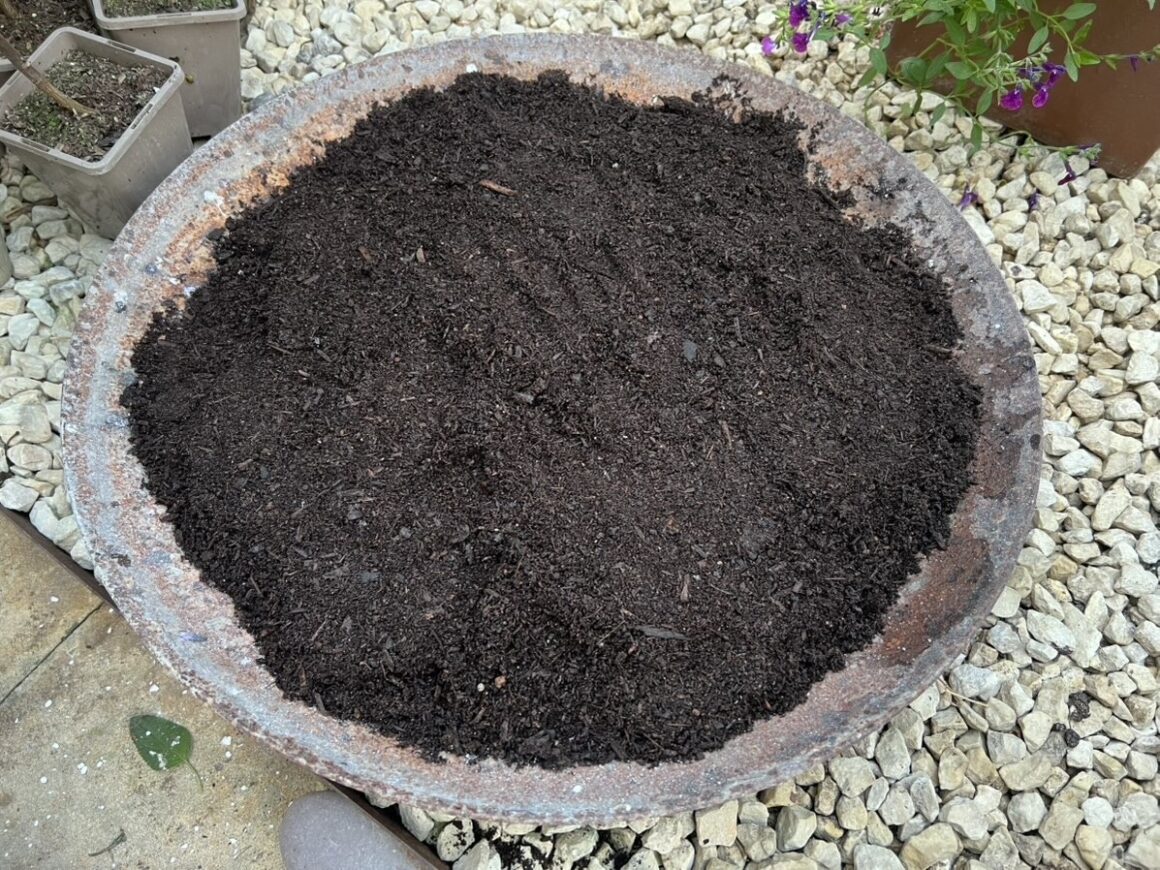
3. Add a shallow layer of compost
On top of the perlite, we added a thin layer of peat-free multi-purpose compost. Because it’s sitting directly on a free-draining layer, there was no need to mix in extra grit here.
4. Plant in layers
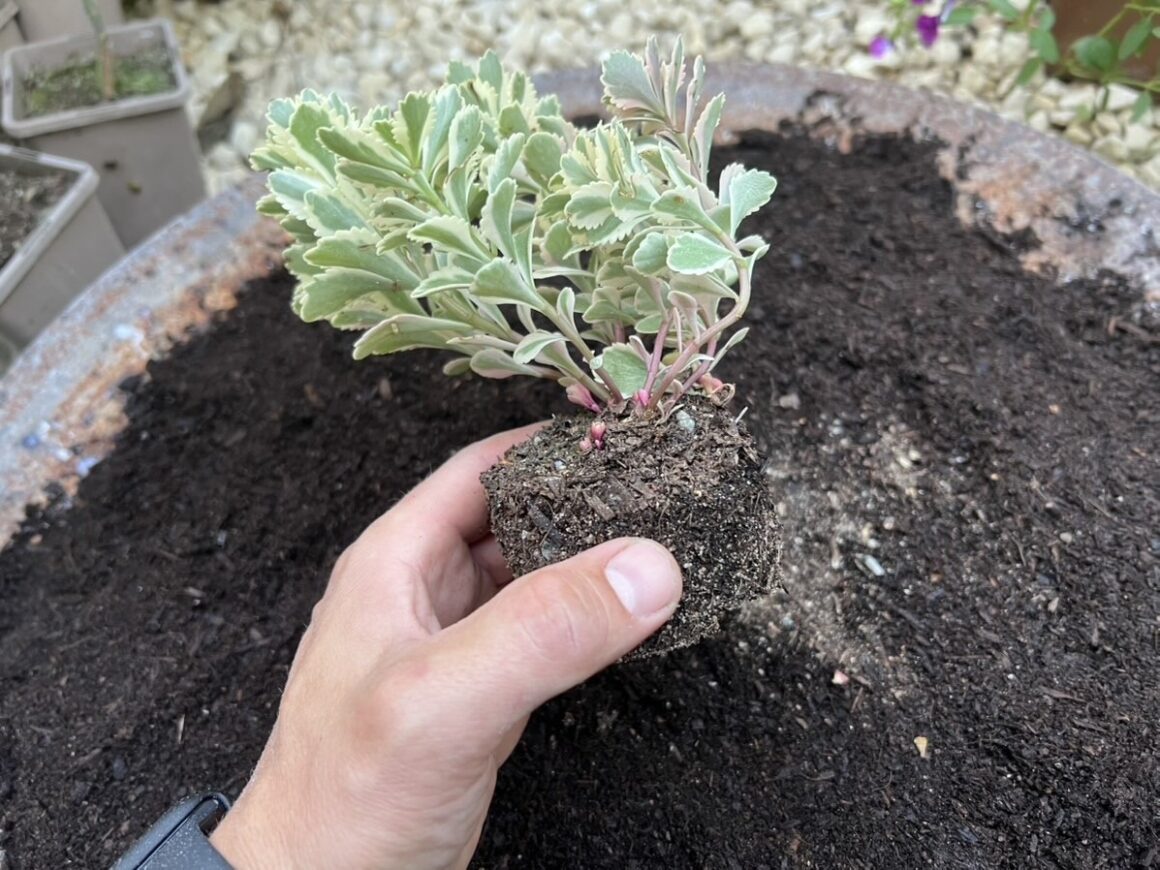
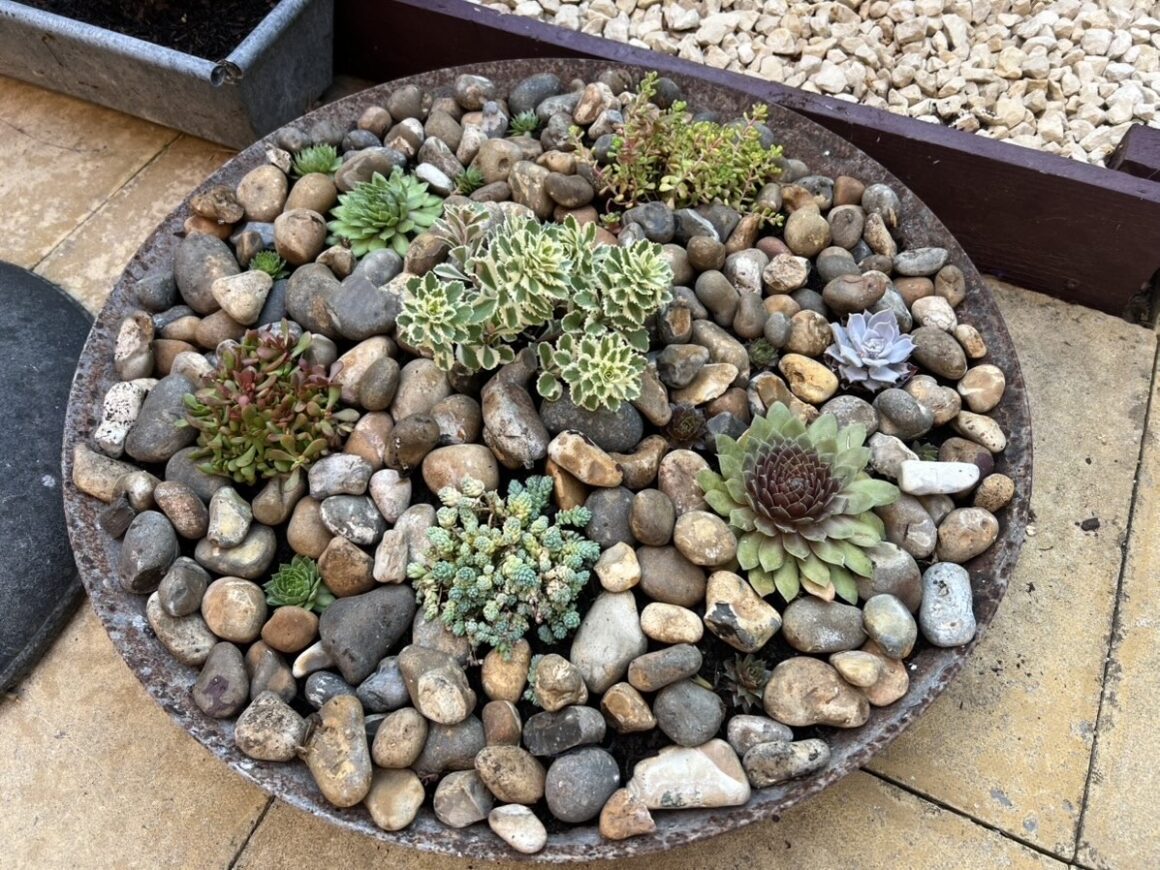
This is where the display really comes together. We placed the tallest plant centrally, then worked outward with lower, spreading succulents around the edges. Planting this way means the bowl looks good from every angle, not just the front.
5. Top dress
We finished with a layer of pebbles left over from clearing a drainage gully elsewhere in the garden — they happened to resemble the pebbles from a beach near us, which was a nice unplanned touch. Any decorative gravel or pebble works well here, both for looks and for keeping moisture off the base of the plants.
Why Hardy Succulents Make Sense for a Changing Climate
Once planted, a display like this needs almost no ongoing care. Left alone, the succulents should thrive — spreading across the surface and sending up new shoots and flowers each spring and summer. Some varieties are deciduous and will die back in winter; others are evergreen and hold their structure year-round.
With droughts becoming more frequent in summer and hard frosts still likely in winter, this project reflects a bigger shift in how I’m gardening. I still love the exotic garden look — big structural foliage, intriguing details, plants that make you stop and look twice. That’s not something I want to give up. I still want to be surrounded by striking foliage and fragrant flowers.
But I’m done losing money and time on tender tropicals that don’t reward the effort. Hardy succulents let me keep that exotic, architectural feel without gambling on another wet, cold winter wiping everything out.
Get the Look Yourself
If you fancy building your own version, I’ve linked the bowl we used, along with the perlite and grit for drainage, and the nurseries we’ve bought hardy succulents from and trust.
And if you enjoy projects like this, consider supporting Grow Paradise by becoming a patron — it helps keep content like this coming.
Plants we used:
- Sedum dasyphyllum ‘Major’
- Sedum tetractinum ‘Coral Reef’
- Sedum takesimense ATLANTIS
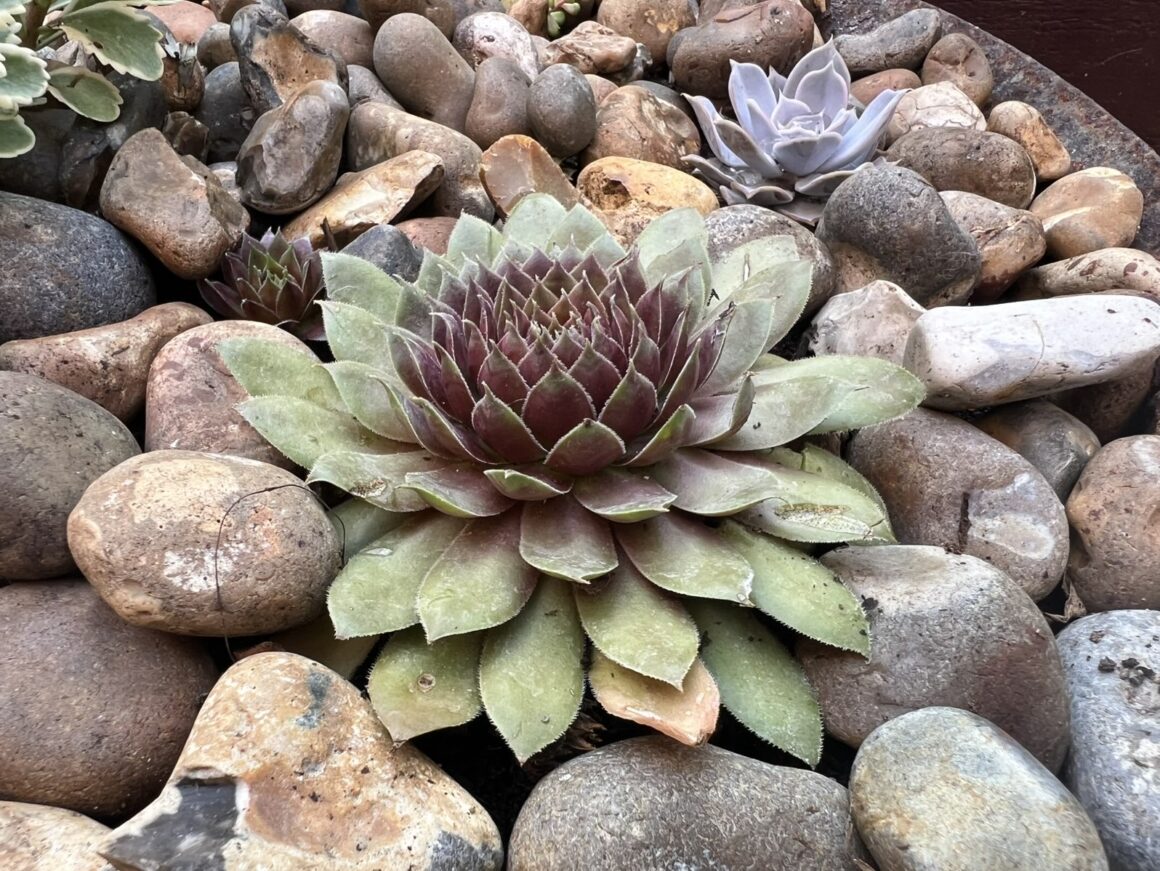
- Sempervivum
Equipment used:
- Corten steel bowl: Buy from Amazon
- HSS metal drill it: Buy from Amazon
- Perlite: Buy from Amazon